Introduction
With today's Photoshop technology, adding your face to any image is easy for those who know how to use Photoshop. However, there will be times when AI Midjourney users want to add their own face to images created on Midjourney. In this article, I will guide you in detail on how to do this using AI Midjourney with just a few mouse clicks, and it doesn't require any Photoshop skills at all.
Currently, there is an easier, faster, and free way for those who need it:
Guide to face swapping into images using free AI at PicEditor.io
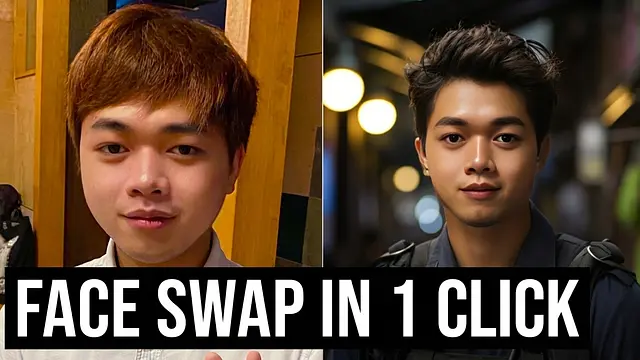
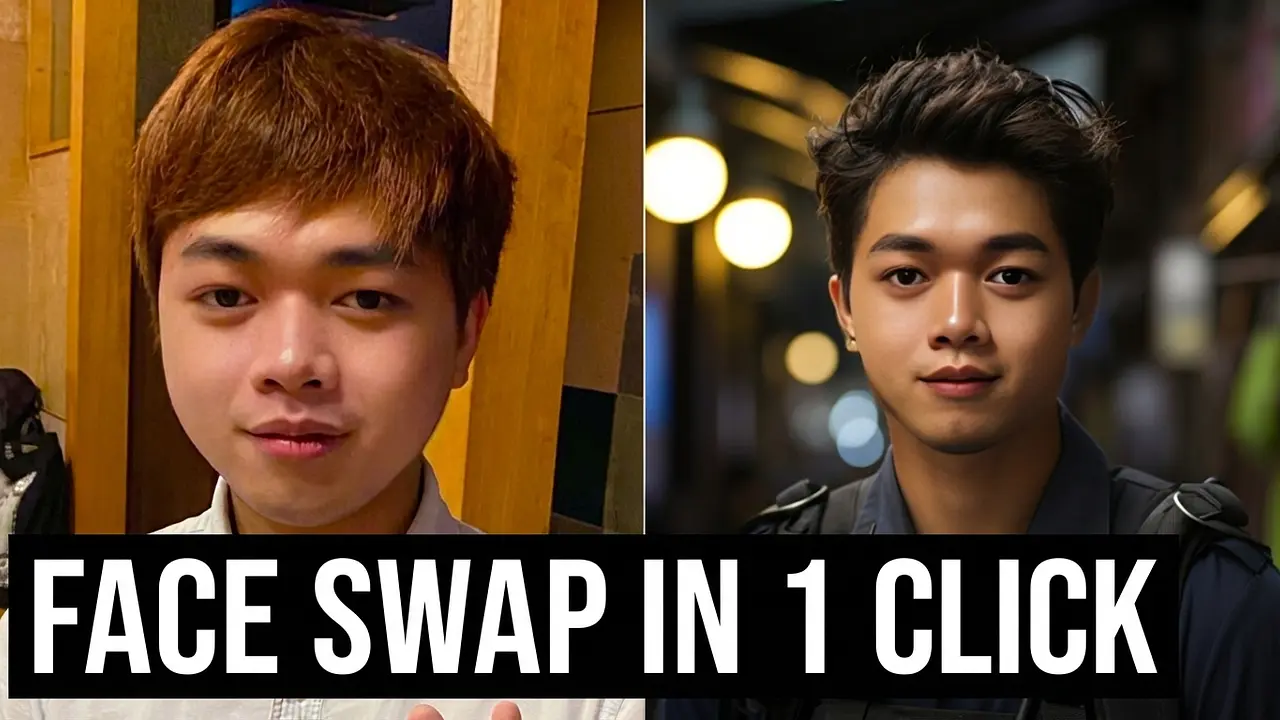
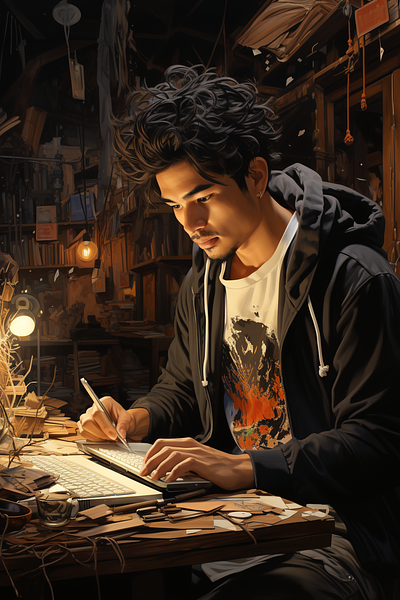
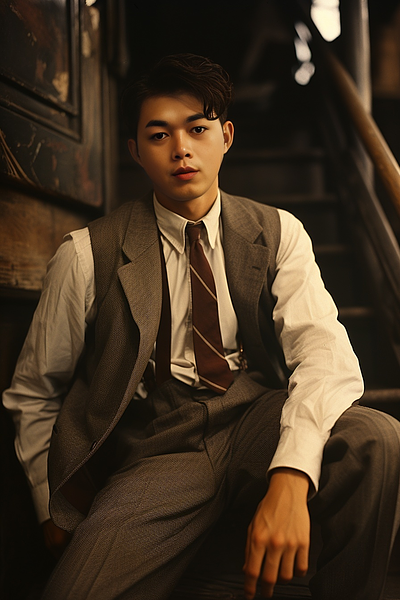
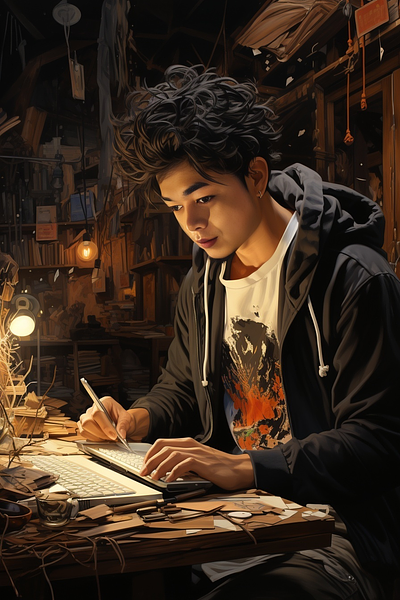
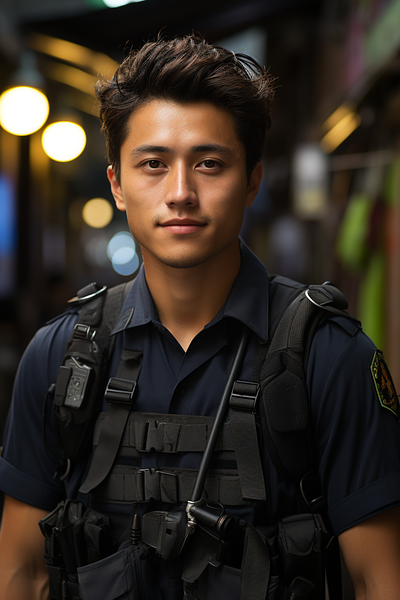
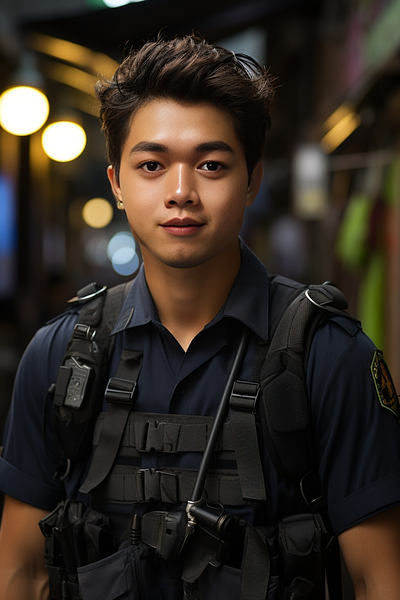
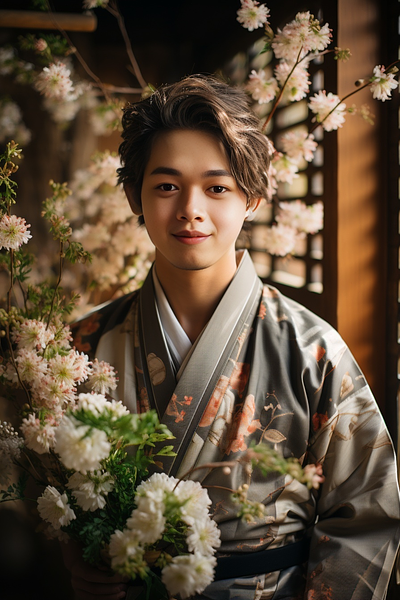
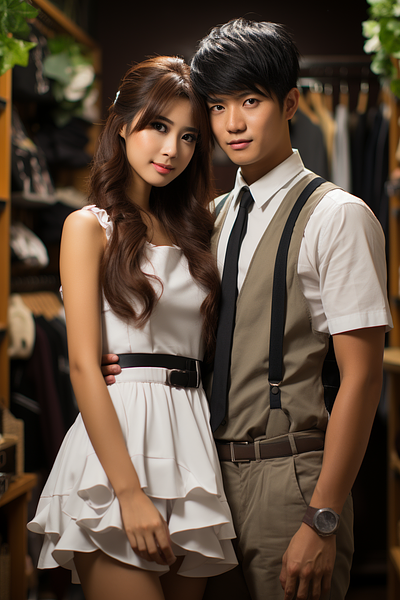
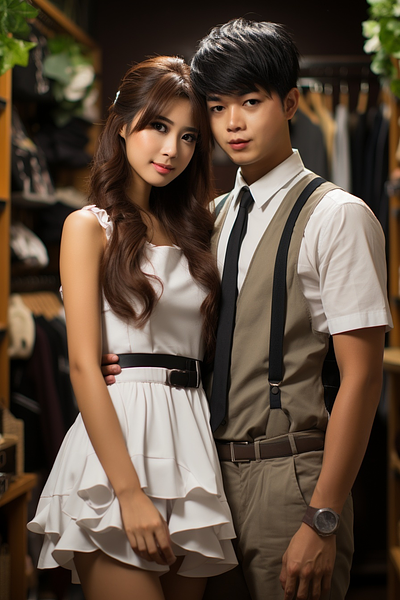
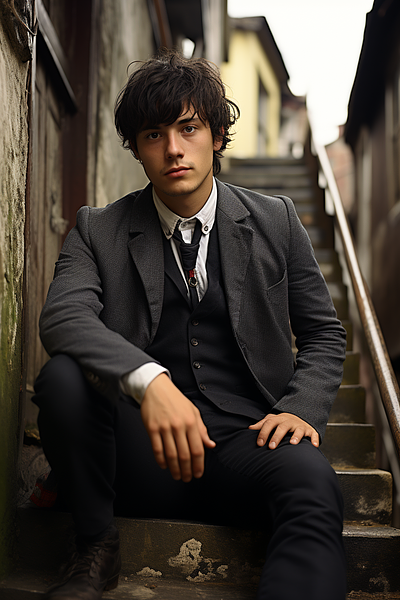
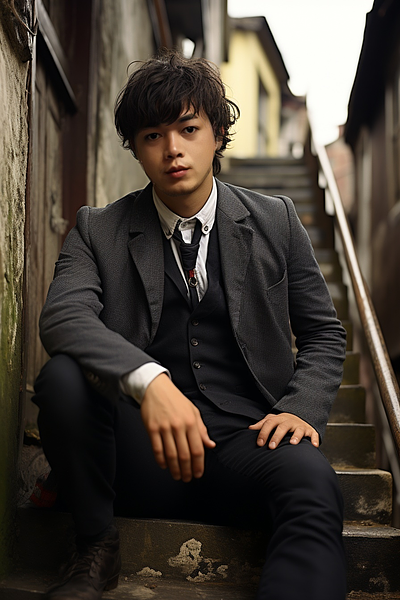
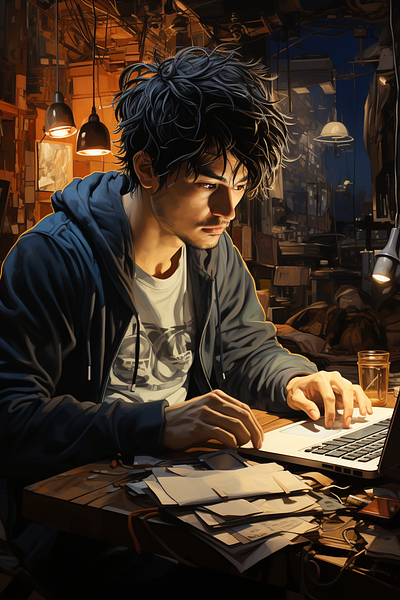
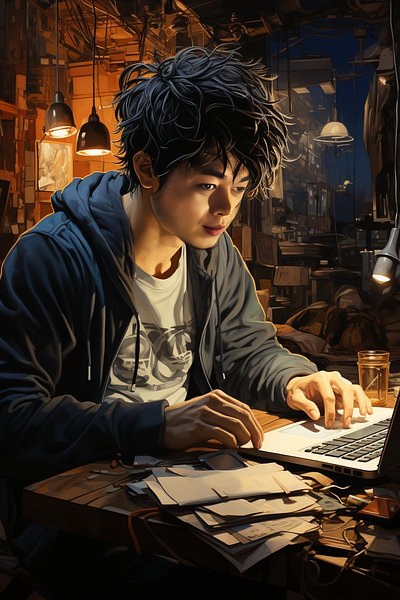
After reading this article, you will be able to quickly insert your own face into images on Midjourney like this:
Currently, there is an easier, faster, and free way for those who need it:
Guide to face swapping into images using free AI at PicEditor.io
After reading this article, you will be able to quickly insert your own face into images on Midjourney like this:
With just a few clicks, you can create artworks featuring your own face easily.
Let's get started!
Create a Discord and Midjourney Account
If you're new to Midjourney and want to learn how to use it, check out the article below first:
How to Use Midjourney to Draw Paintings and Create Realistic AI Images
How to Use Midjourney to Draw Paintings and Create Realistic AI Images
Add Midjourney Bot and InsightFace Bot to Your Private Server
Create a Private Server on Discord
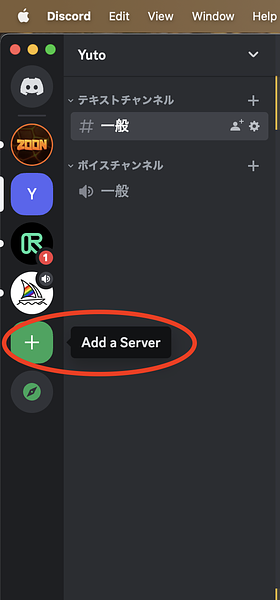
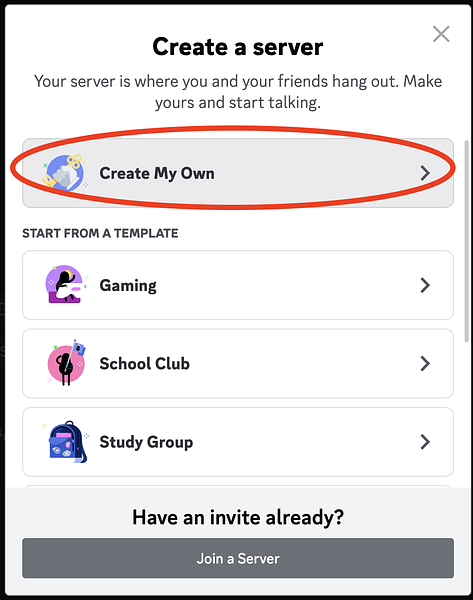
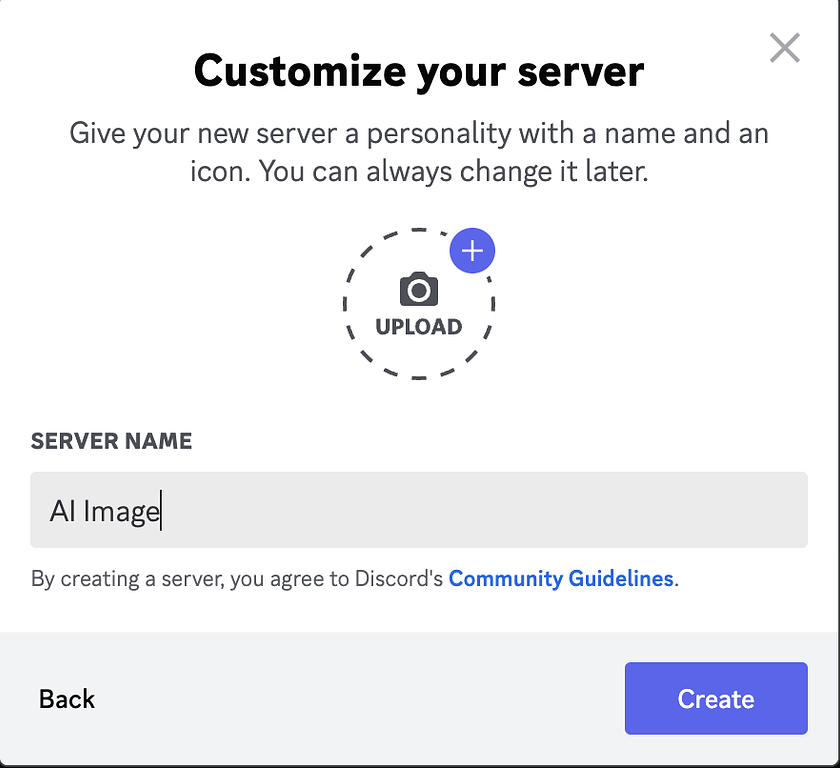
First, you need to create a private server on Discord. Click the + button on the left menu bar, then select Create My Own to create the server.
Add Midjourney Bot to the Server
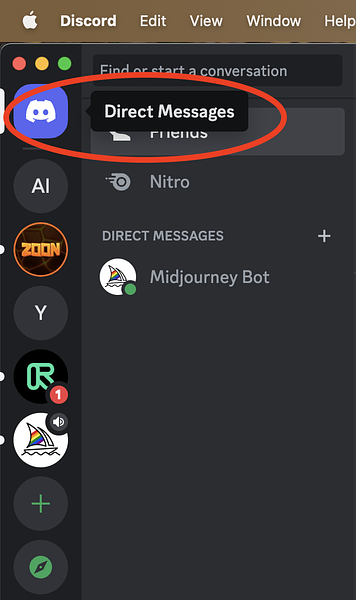
To add the Midjourney Bot to the server, select Direct Messages on the left menu bar
Then, find and right-click on the Midjourney Bot and select Profile, next click the Add to Server
Then, find and right-click on the Midjourney Bot and select Profile, next click the Add to Server
Select the server you want to add the Midjourney Bot to, then choose Continue and Authorize
Add InsightFace Bot to the Server
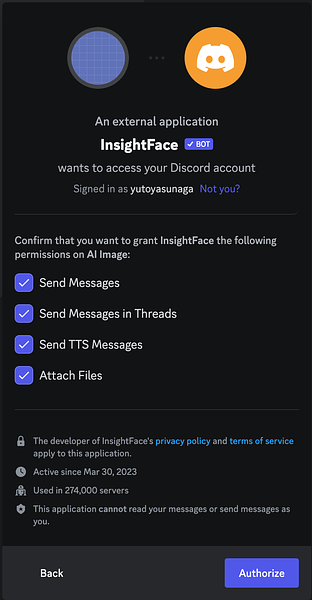
Next, you need to add the InsightFace Bot to the server. Click on this Discord link:
https://discord.com/oauth2/authorize?client_id=1090660574196674713&permissions=274877945856&scope=bot
The system will automatically redirect to the screen to add the Bot to the server, similar to when you added the Midjourney Bot.
https://discord.com/oauth2/authorize?client_id=1090660574196674713&permissions=274877945856&scope=bot
The system will automatically redirect to the screen to add the Bot to the server, similar to when you added the Midjourney Bot.
After adding the Midjourney Bot and InsightFace Bot to your server, we've completed the preparation phase. Next comes the most exciting part: face swapping into images.
Register Your Face Using the "/saveid" Command
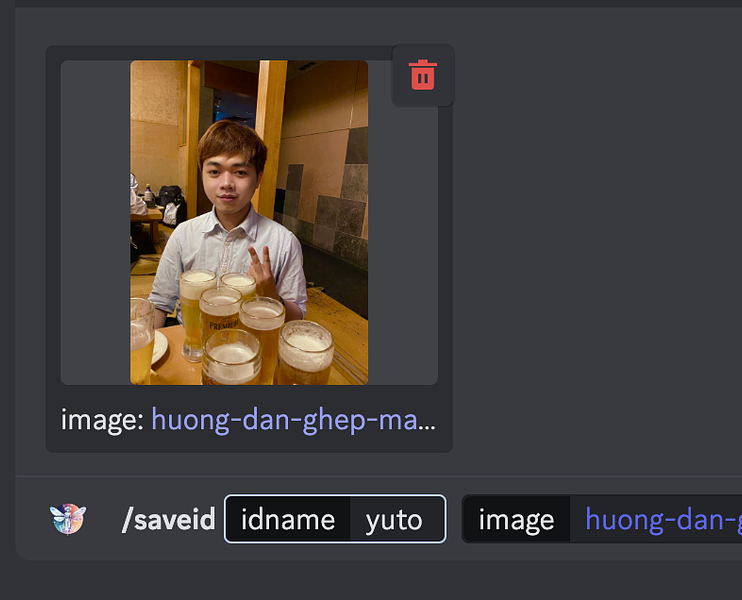
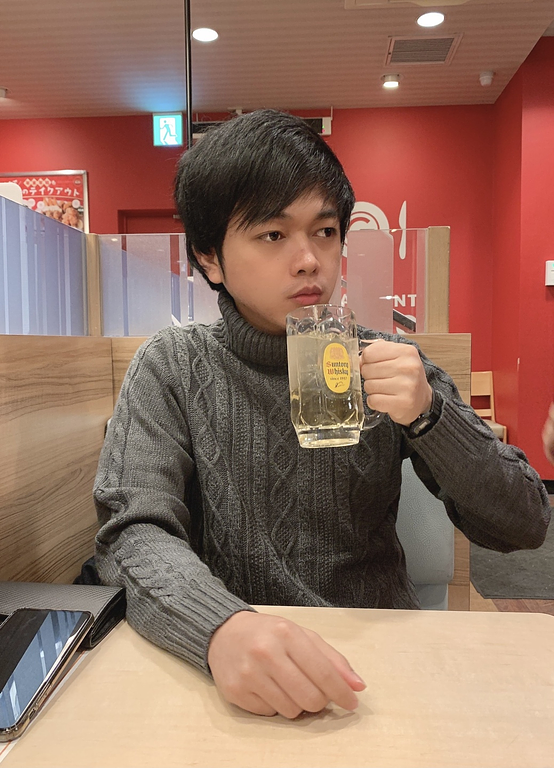
Now, let's start by uploading a photo and registering the face with the “/saveid” command to proceed with face replacement and editing in future uses.
The ID name will be used for face swapping.
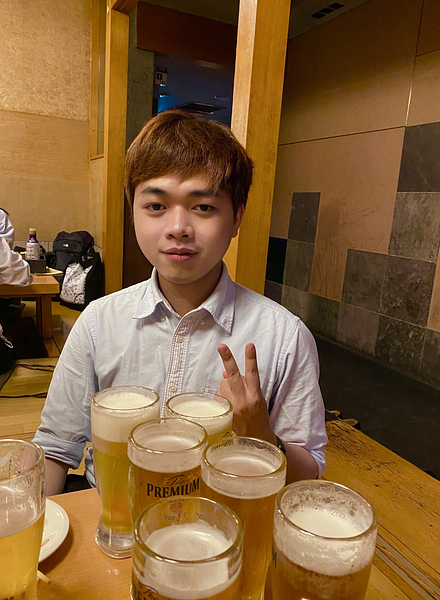
Note that high-quality portrait photos taken from the front, without glasses, are preferred. The face swap results are best when you choose people with similar face proportions.
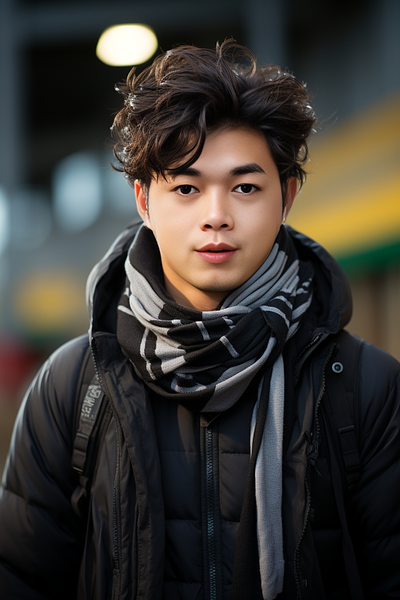
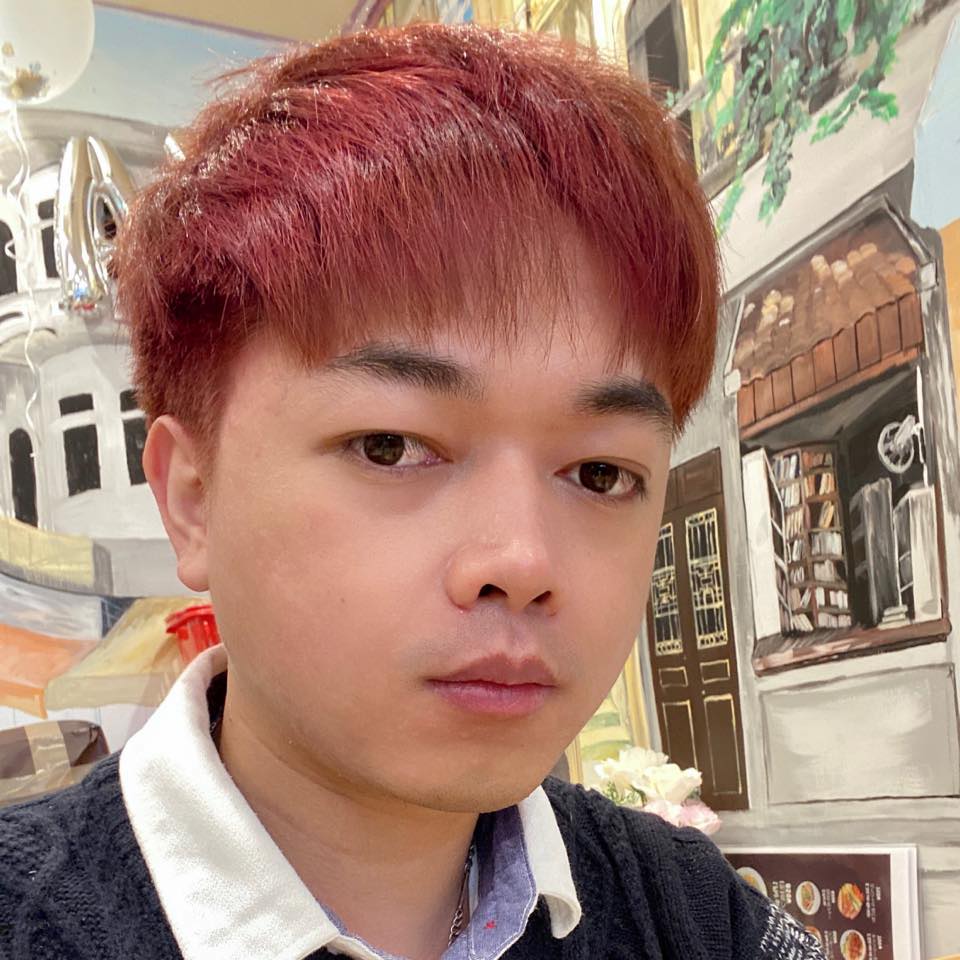
I'll use this photo as an example. I'll name the ID for this photo “yuto” by typing the command: /saveid <name> and dragging the photo into the chat box.
Create Images on Midjourney
For detailed instructions on how to create images on Midjourney, you can refer back to my previous article:
How to Use Midjourney to Draw Paintings and Create Realistic AI Images
To swap faces into images, you need to upscale the image created by Midjourney. You can perform the image creation using the "/imagine" command right on the server you've created.
How to Use Midjourney to Draw Paintings and Create Realistic AI Images
To swap faces into images, you need to upscale the image created by Midjourney. You can perform the image creation using the "/imagine" command right on the server you've created.
Change Faces Using INSwapper
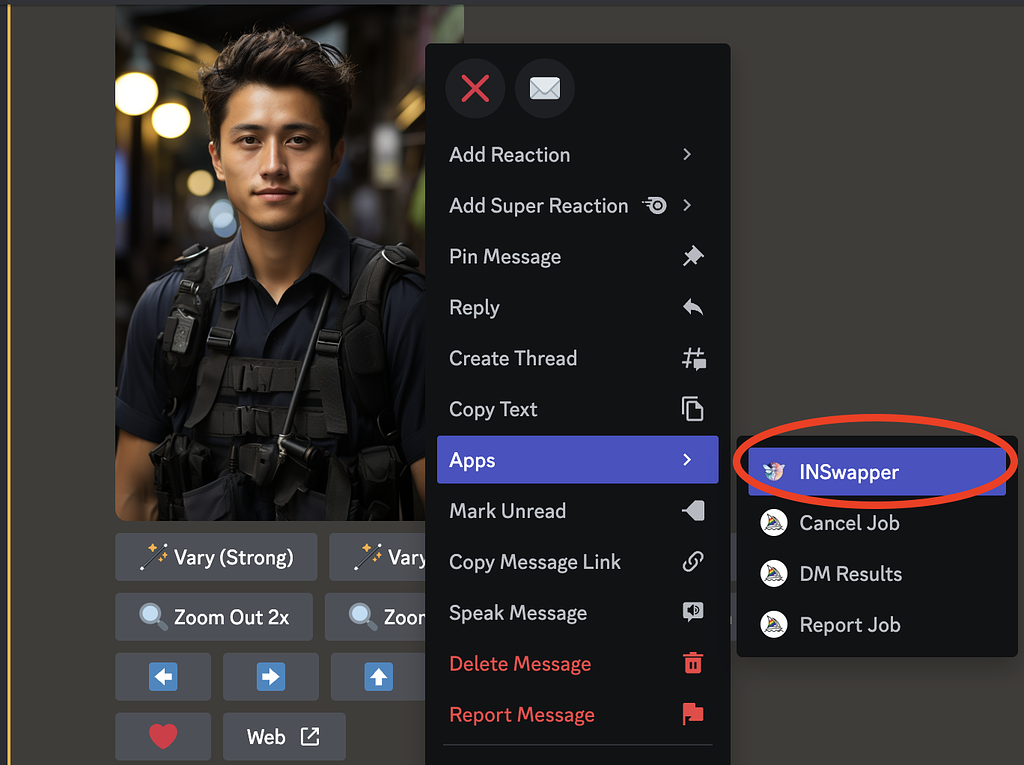
After upscaling the image you want to face swap, right-click on the image, select Apps -> INSwapper from the menu.
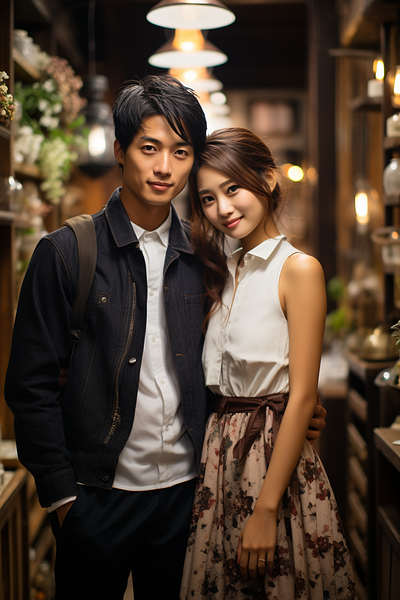
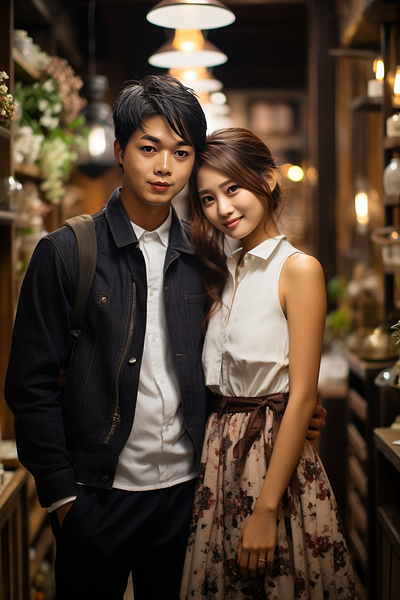
For images of couples (male and female), the AI is smart enough to detect which face to change.
List of Commands
/saveid
Upload a photo and register an ID for the face
/swapid
Note that once you've created an ID with "/saveid", it will automatically be set as the default. You can use the “/setid” command to change the default ID name.
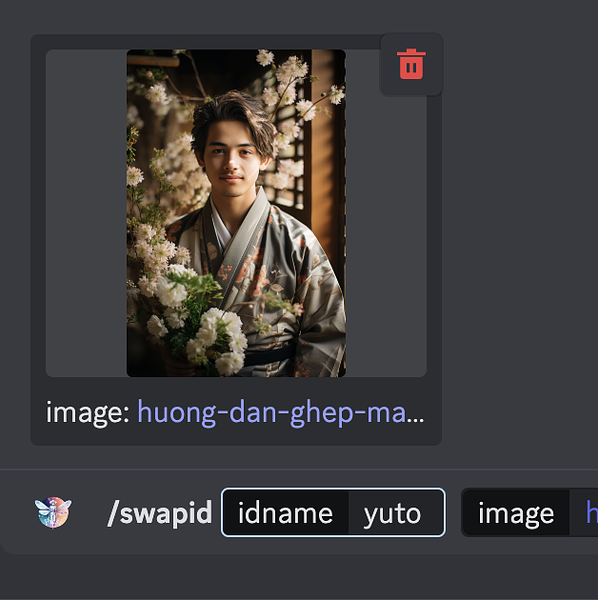
The InsightFace plugin can also process saved images via the /swapid <ID> command. Enter the ID name and upload a photo, then press Enter, and you've inserted the face into the uploaded image. Super simple, right?
The InsightFace plugin can also process saved images via the /swapid <ID> command. Enter the ID name and upload a photo, then press Enter, and you've inserted the face into the uploaded image. Super simple, right?
/setid
Set the ID name for image creation. You can specify multiple IDs by separating them with commas.
/listid
List all registered IDs. You can create up to 10 separate IDs.
/delid <ID>
Delete an ID.
/delall
Delete all registered IDs.
Conclusion
In this article, I've provided a detailed guide on how to easily swap faces into images generated by AI Midjourney with just a few mouse clicks, without needing complex Photoshop skills. Using the InsightFace plugin combined with the Midjourney Bot on Discord, you can quickly create unique artworks with a personal touch. From registering a face with the /saveid command to changing faces in images with /swapid, the process is incredibly fast and efficient.
If you're looking to incorporate your own face into creative AI paintings, this is a fantastic solution to create unique photos in just a few minutes.
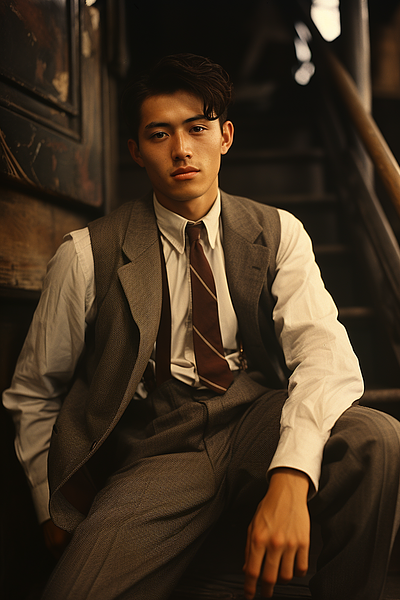
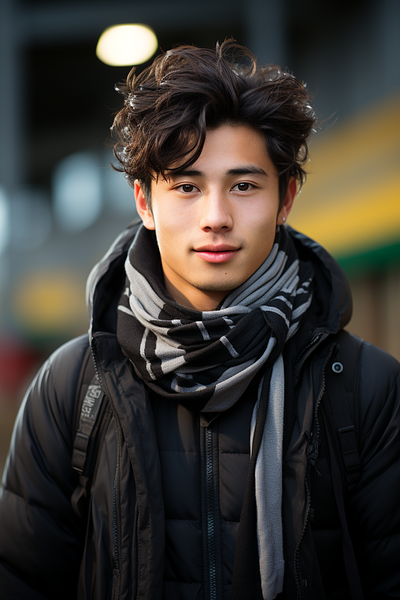
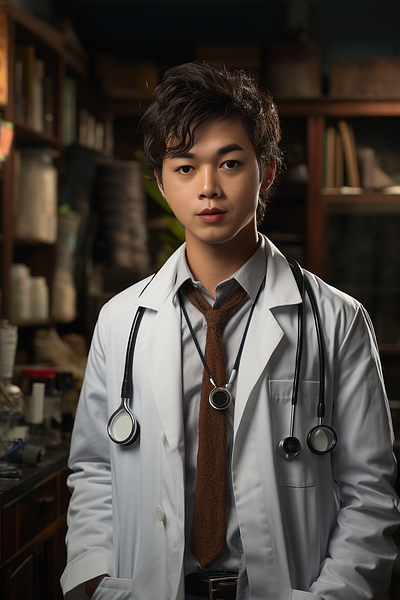
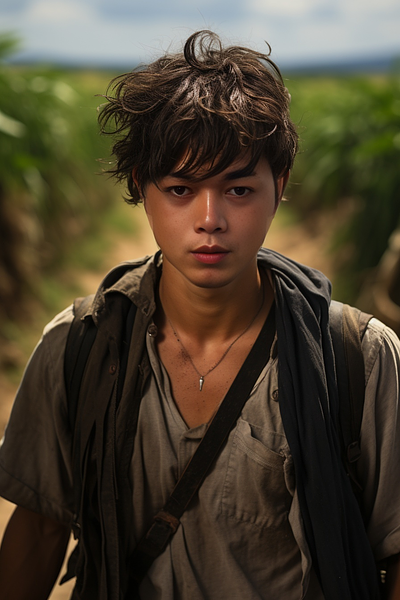
Here are some images I've experimented with

