The arrival of Sora 2 has ushered in a new era for content creation, where you can generate realistic videos just by using descriptive text. However, what has truly captured the attention of the online community is the ability to create AI videos featuring your own face and voice!
While this feature offers incredible convenience, it also raises questions about personal data security. In this article, we’ll dive deep into how to use the Sora 2 app on iPhone, turning seemingly complex video creation into a breeze with just a few simple steps.
Before we get into the detailed guide, if this is your first time using Sora 2, make sure to check out the basic tutorial first.
Experience OpenAI Sora 2 for ultra-realistic video creation
Before we get into the detailed guide, if this is your first time using Sora 2, make sure to check out the basic tutorial first.
Experience OpenAI Sora 2 for ultra-realistic video creation
How to Download the Sora App on iPhone
Search and Download the App on the App Store
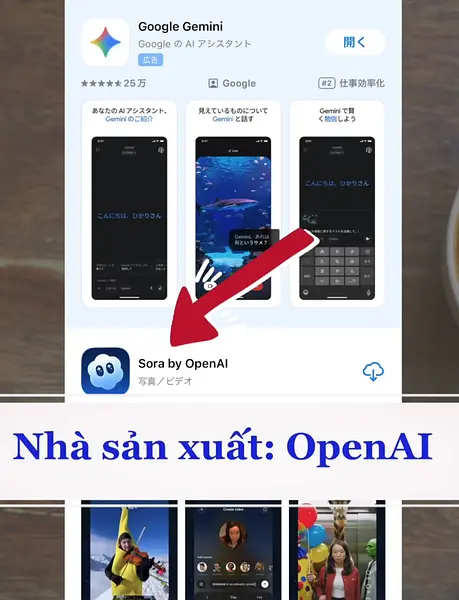
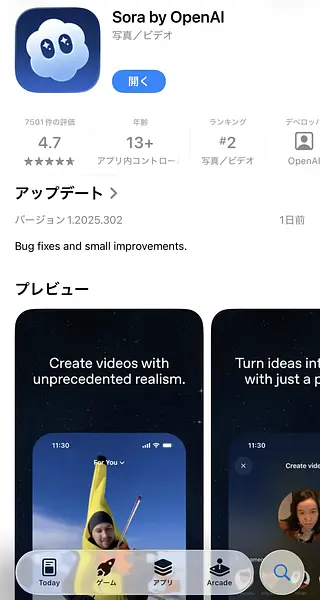
On the App Store, search for Sora. Make sure you select the correct app developed by Open AI
Official app link:
https://apps.apple.com/jp/app/sora-by-openai/id6744034028
Official app link:
https://apps.apple.com/jp/app/sora-by-openai/id6744034028
Log In and Grant Permissions
After downloading the app, open it and proceed to log in.
If you don’t have a referral code to use Sora 2 yet, check out the video guide on how to get a referral code here.
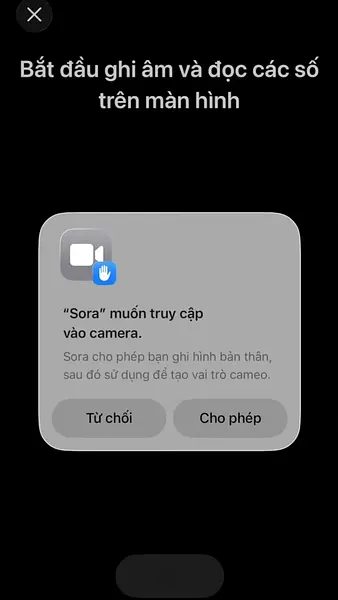
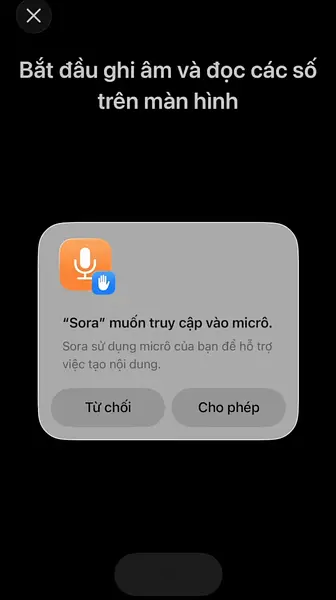
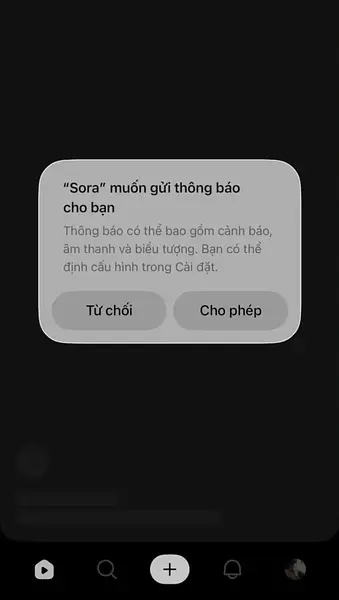
After logging in, the app will request permissions. Make sure to allow access to the camera and microphone. As for notification permissions, I turn them off to avoid distractions.
Create Your First Sora 2 Video
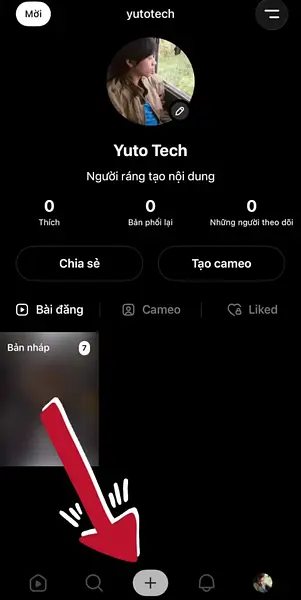
The screen after logging in will look like the one below. Tap the plus button at the bottom to start creating your first video.
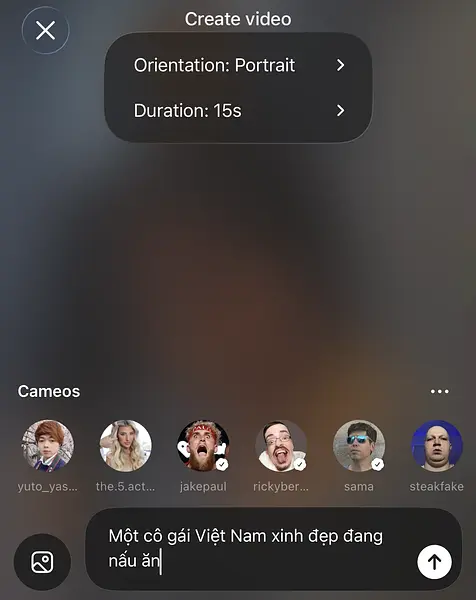
Just like other AI video creation tools, enter your command (prompt) into the field. At the top corner, you’ll find the settings section. Currently, the settings include two options:
Just like other AI video creation tools, enter your command (prompt) into the field. At the top corner, you’ll find the settings section. Currently, the settings include two options:
- Aspect Ratio: Horizontal or Vertical
- Video Duration: 10 seconds or 15 seconds
For example, a prompt could be: "A beautiful Vietnamese girl cooking." After entering the details and hitting the send button, wait a few seconds, and your video will be ready.
Create an AI Video with Your Face and Voice
This is the most crucial part of creating your exclusive AI video.
Step 1: Create a Cameo
A Cameo is a digital model, or in other words, a virtual clone of yourself in Sora 2.
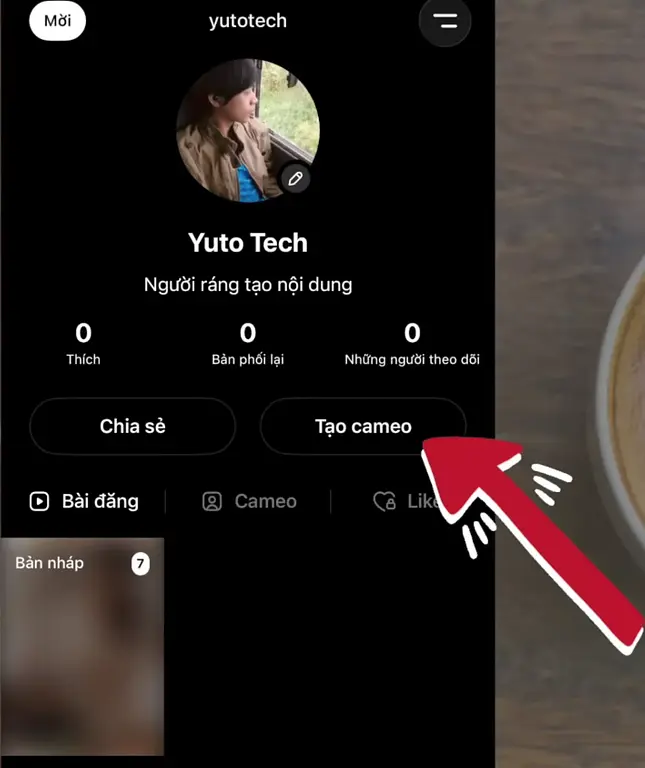
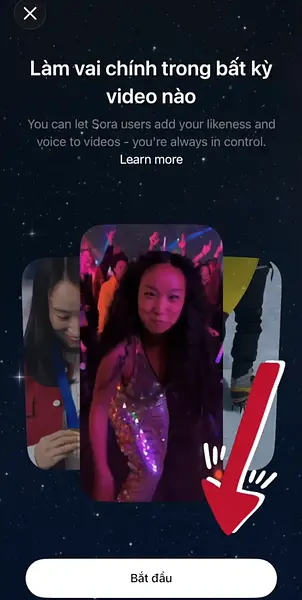
To create a cameo, first, from the main interface, tap the Create Cameo button.
Next, tap the Start Recording button and read the sequence of numbers displayed on the screen (for example: 58 76 89). Then, press Continue to complete the process.
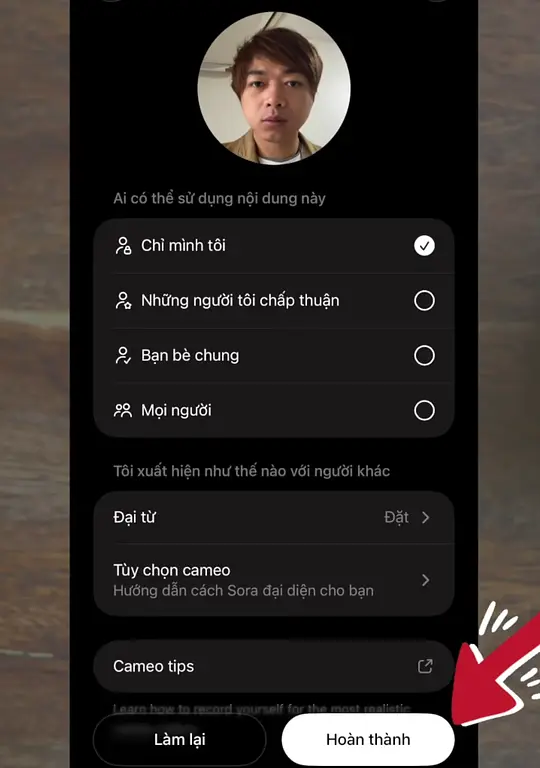
Finally, you can choose who is allowed to use your image (for example: only me) and press Finish. And that’s it—your personal cameo is complete.
Step 2: Use Your Cameo to Create a Sora Video
Once you have your cameo, you can start creating personalized videos.
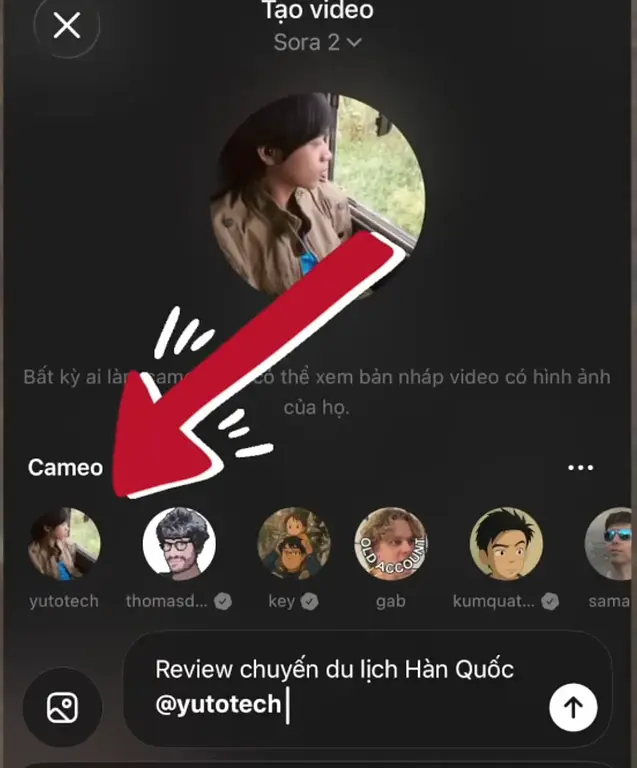
On the video creation input screen, you’ll see cameos displayed at the top. Select the Cameo with your face. Then create the video as usual.
For example, I’ll use my cameo to create a video reviewing a trip to South Korea.
On the video creation input screen, you’ll see cameos displayed at the top. Select the Cameo with your face. Then create the video as usual.
For example, I’ll use my cameo to create a video reviewing a trip to South Korea.
Result: The generated video will feature your voice and image, making it easy to create review content, vlogs, or even advertisements without filming yourself. Although the likeness is currently around 50%, this is a fantastic start and promises to improve in the near future.
With Sora 2, creating high-quality videos with a personal touch has never been easier! Wishing you success and the creation of unique content that’s all your own.

